
This post is focused on email verification in laravel 7. you can understand a concept of laravel 7 auth verify email. laravel 7 email verification tutorial step by step. i explained simply step by step laravel 7 auth verify email. Let’s see bellow example laravel 7 authentication email verification.
In laravel old version we are doing email verification process manually, but in laravel 7 they provide in build email verification setup for new registered users to must have to verify his email before proceed. You just need to make some basic setup with need to use middleware, routes and mail configuration.
Just follow this tutorial from scratch and you will set up for email verification in laravel 7 project.
Step 1: Install Laravel 7
First of all, we need to get fresh Laravel 7 version application using bellow command because we are going from scratch, So open your terminal OR command prompt and run bellow command:
composer create-project --prefer-dist laravel/laravel blog
Step 2: Database Configuration
In this step, we need to add database configuration details on .env file. So let’s create username, password etc. So let’s add.
.env
APP_URL=http://localhost:8000DB_CONNECTION=mysqlDB_HOST=127.0.0.1DB_PORT=3306DB_DATABASE=laravel572DB_USERNAME=rootDB_PASSWORD=root
After added database configuration, you need to run default migration of laravel by following command:
php artisan migrate
Step 3: Email Configuration
Here, we need to add email configuration in .env file. We are sending email after user registration so we need to add email smtp details for send email.
.env
MAIL_DRIVER=smtpMAIL_HOST=smtp.gmail.comMAIL_PORT=587MAIL_USERNAME=youremail@gmail.comMAIL_PASSWORD=yourpassMAIL_ENCRYPTION=tls
Step 4: Create Auth
You have to follow few step to make auth in your laravel 7 application.
First you need to install laravel/ui package as like bellow:
composer require laravel/ui
Now you can use quick way to create registration, login and forgot password with routes by auth command, So simply run bellow command to create:
php artisan ui bootstrap --auth
Now you need to run npm command, otherwise you can not see better layout of login and register page.
Install NPM:
npm install
Run NPM:
npm run dev
Step 5: Email Verification Setup
In last step, we need to add email verification setup, so basically we have to add email verification class implement in user model, use middleware for protection.
php artisan serve
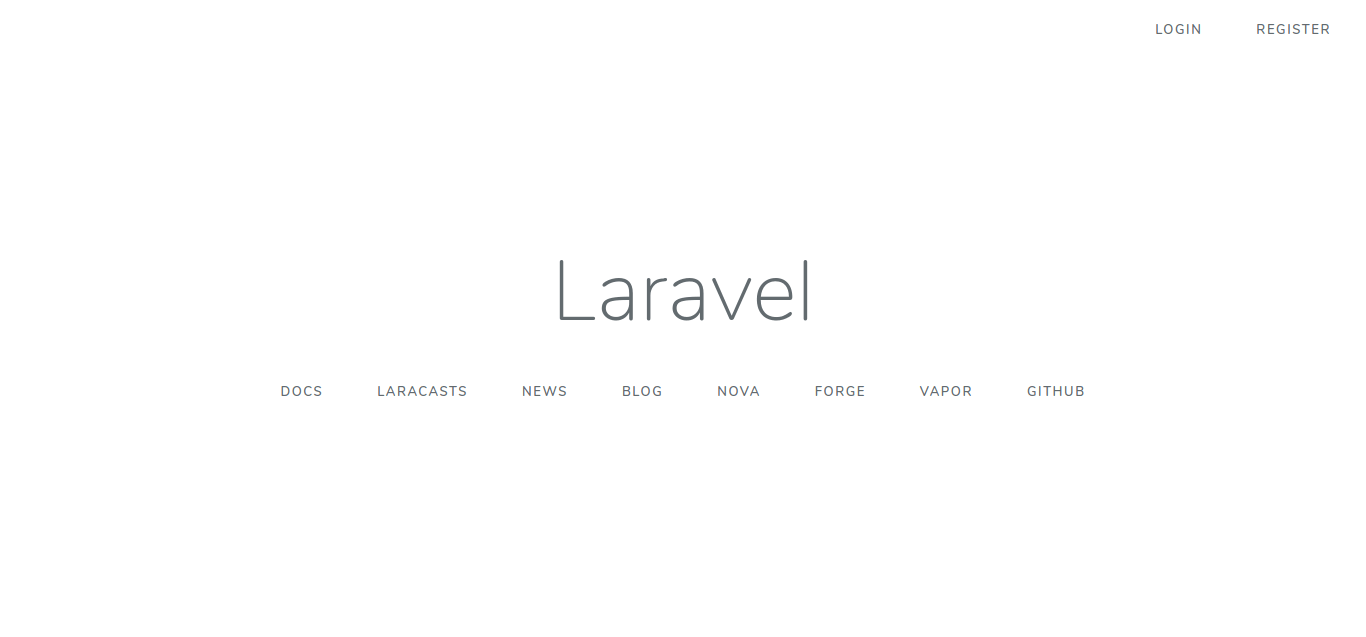
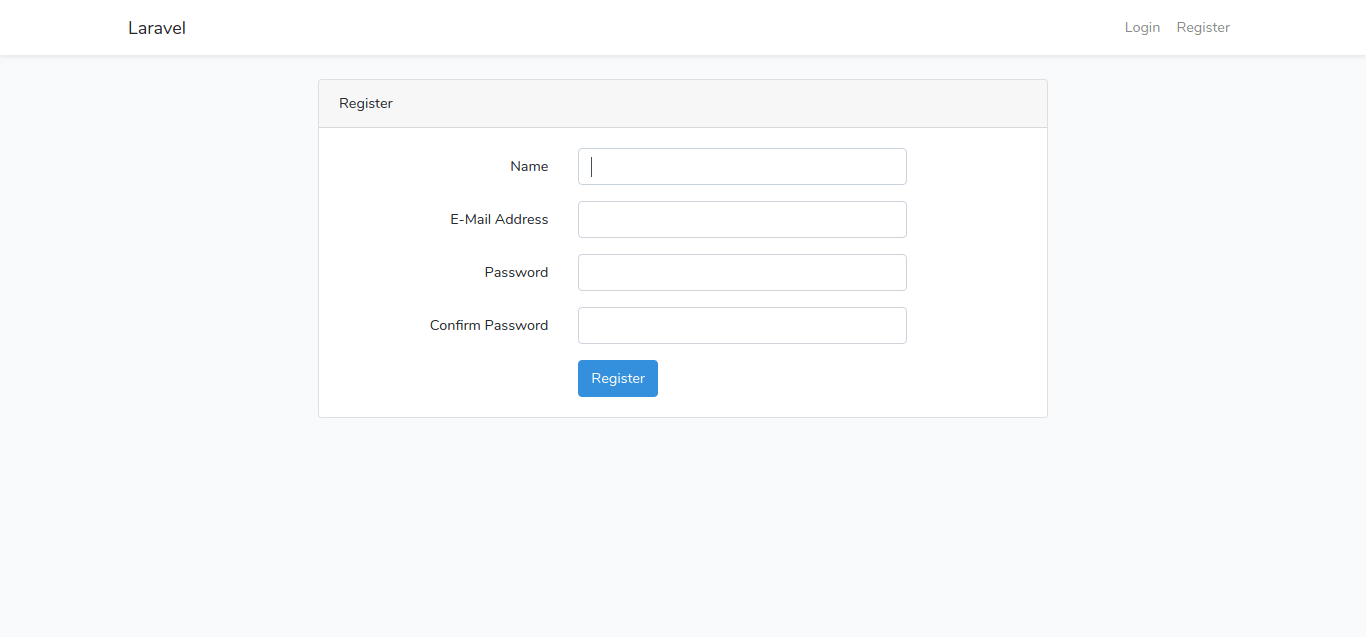
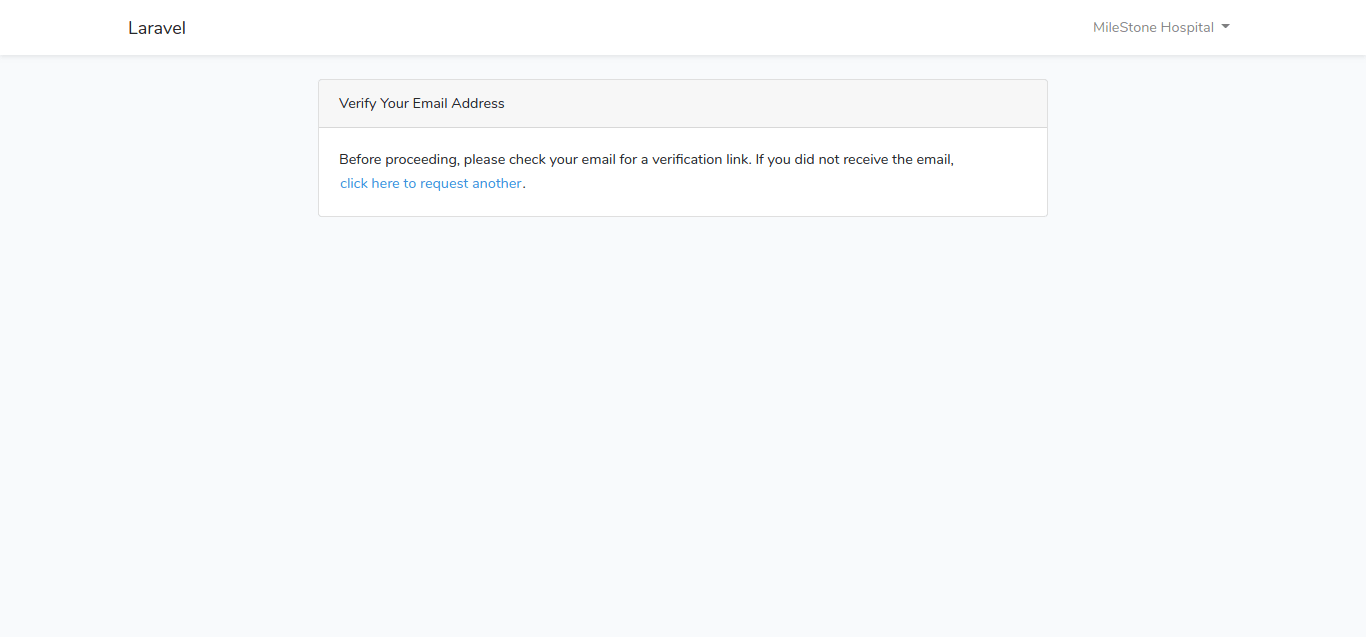
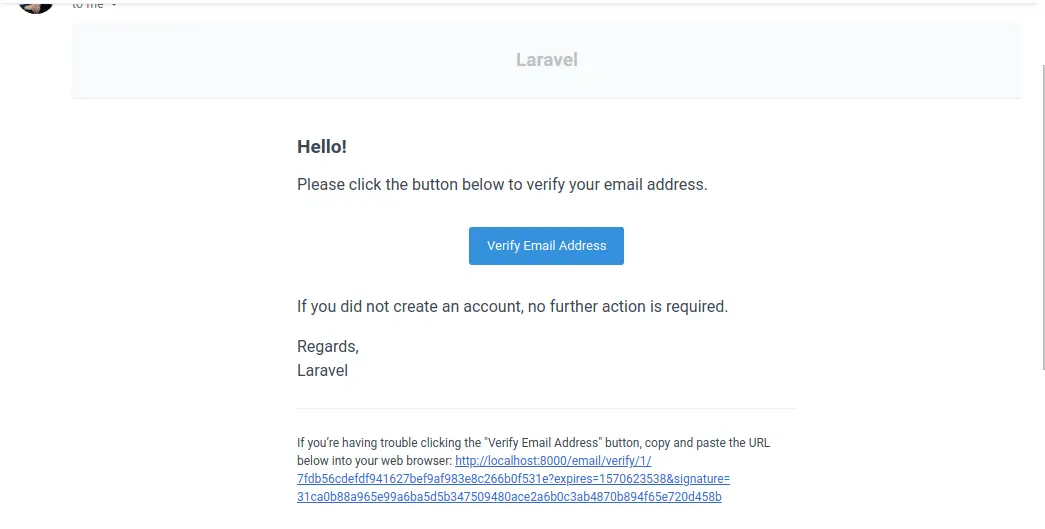
You will find Layout like as bellow screenshot:
Home:
Registration:
Email Alert:
Email:
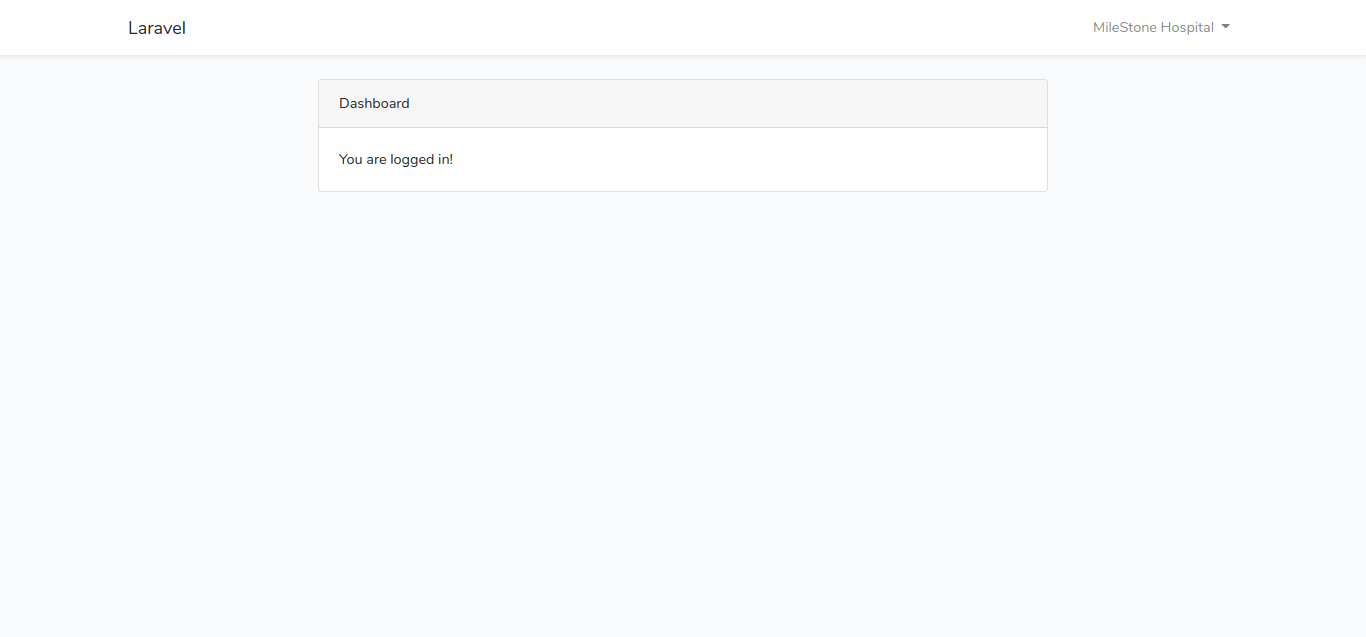
Success:
I hope you found your best…